In the years that we have been together, we've not once bought one for the house and so it was a great activity for a Sunday afternoon.
We popped on our favourite Ocean Colour Scene album (not very spooky) and had a giggle making the pumpkin come to life.
For those that don't know where to start with a pumpkin, here's a step-by-step guide.
You will need: Pumpkin | Knife | Pen | Spoon |Dish
STEP ONE
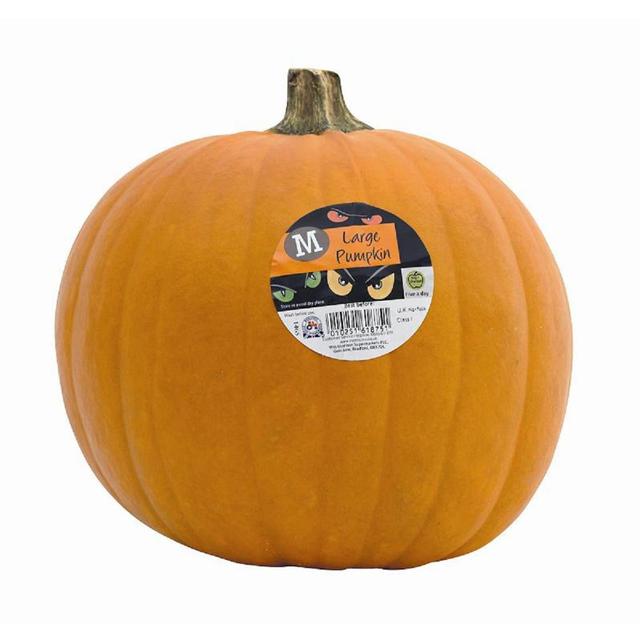
Choose a smooth pumpkin with no bumps, to make it easy to carve.
We bought ours from Morrisons for £1.50
STEP TWO
Using a knife, carve a circle around the top of the pumpkin, to make a lid.
We drew a circle first, to help guide the knife into the right direction
STEP THREE
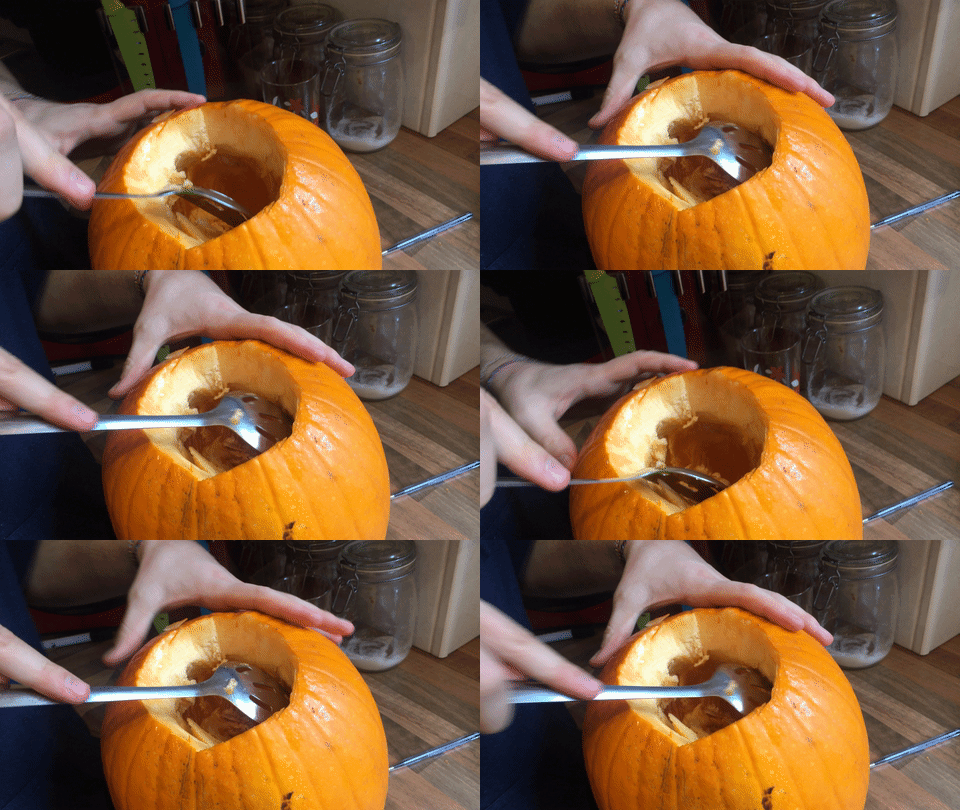
Grab a big spoon and scoop out all of the insides (pumpkin guts) into a separate dish until you have a smooth looking surface.
STEP FOUR
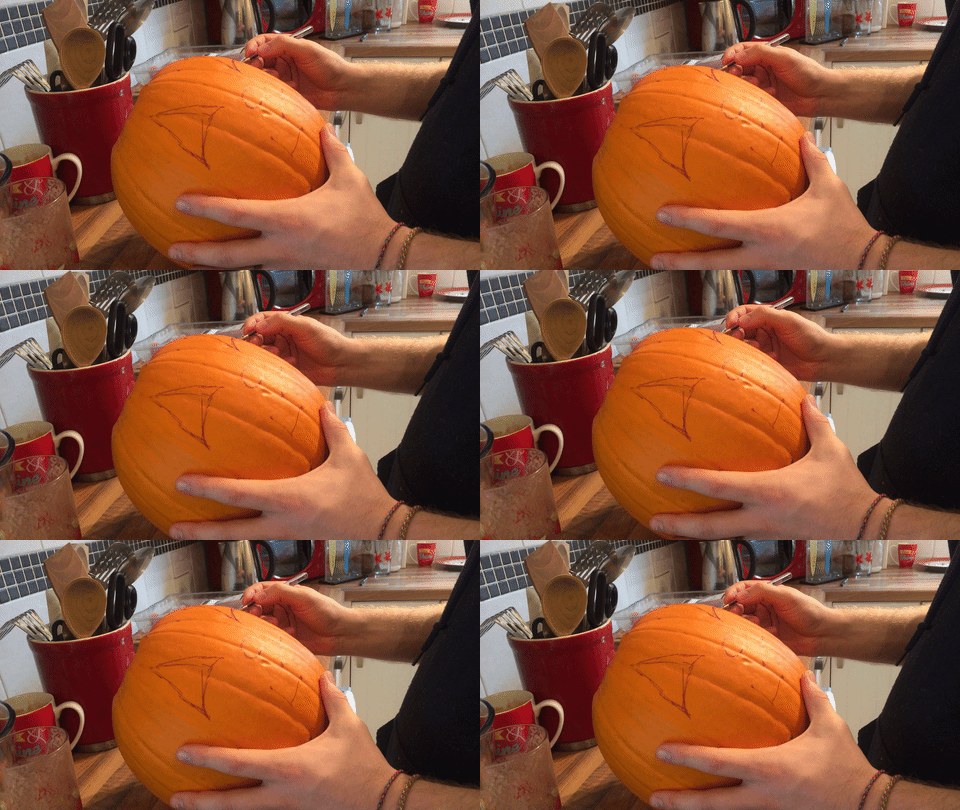
Draw your design on the best side of the pumpkin with a pen.
We opted for a biro pen, so that we could clean off the pen marks but you can use a marker pen if you would prefer.
STEP FIVE
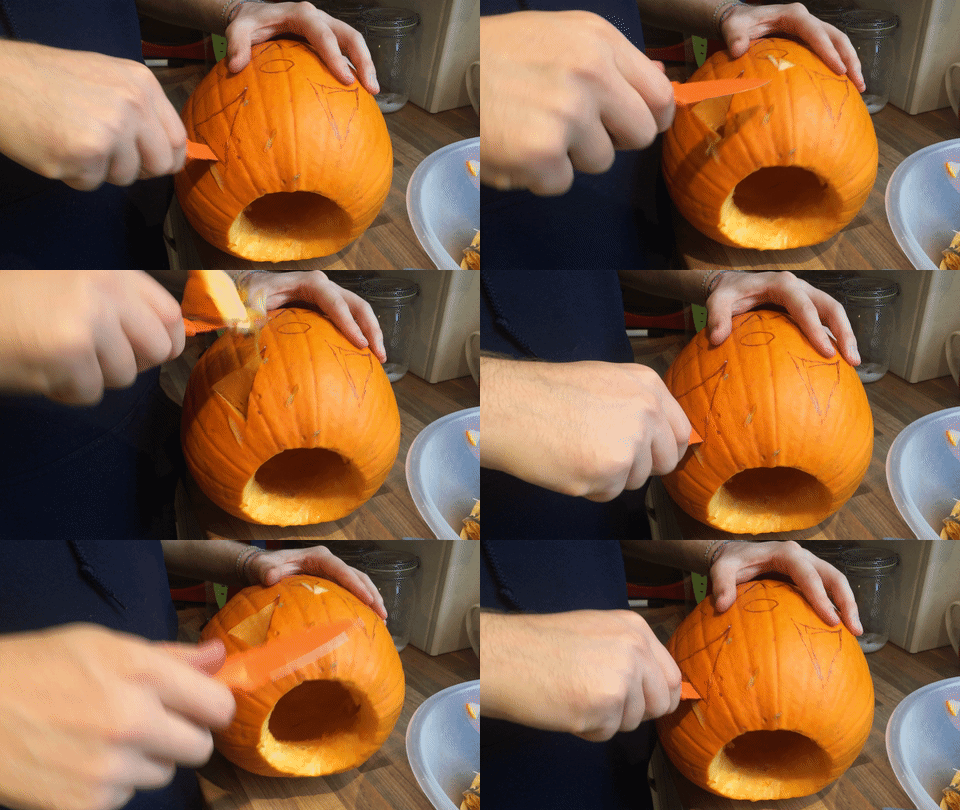
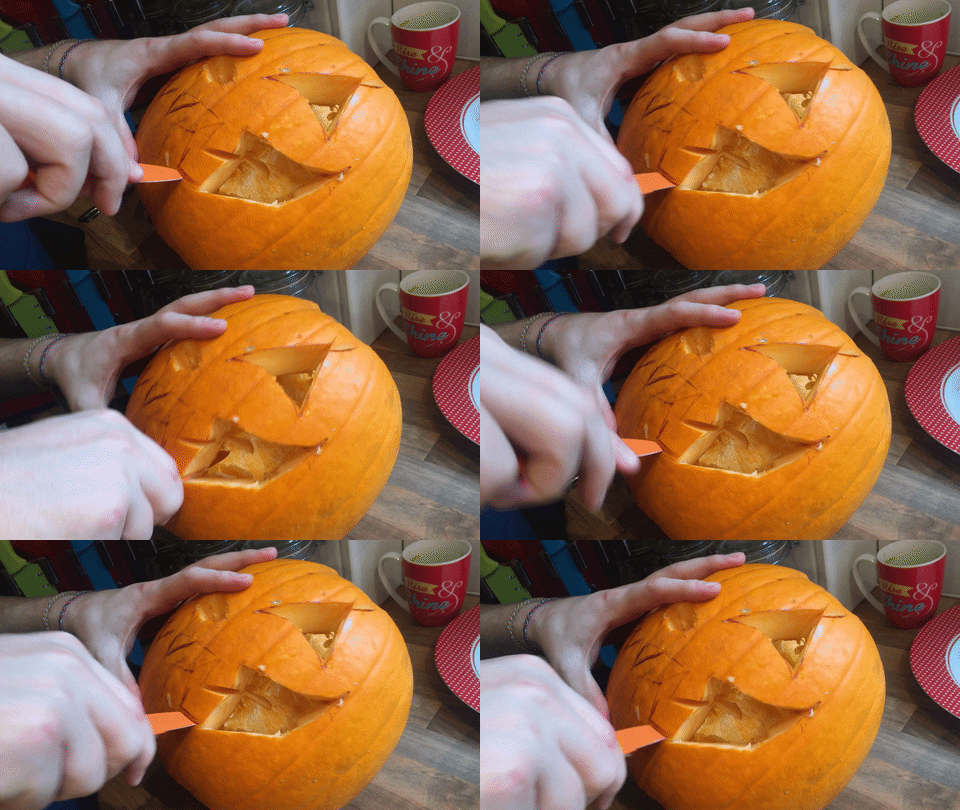
Using a knife, carefully cut around the stencil shapes you drew in step four.
STEP 6
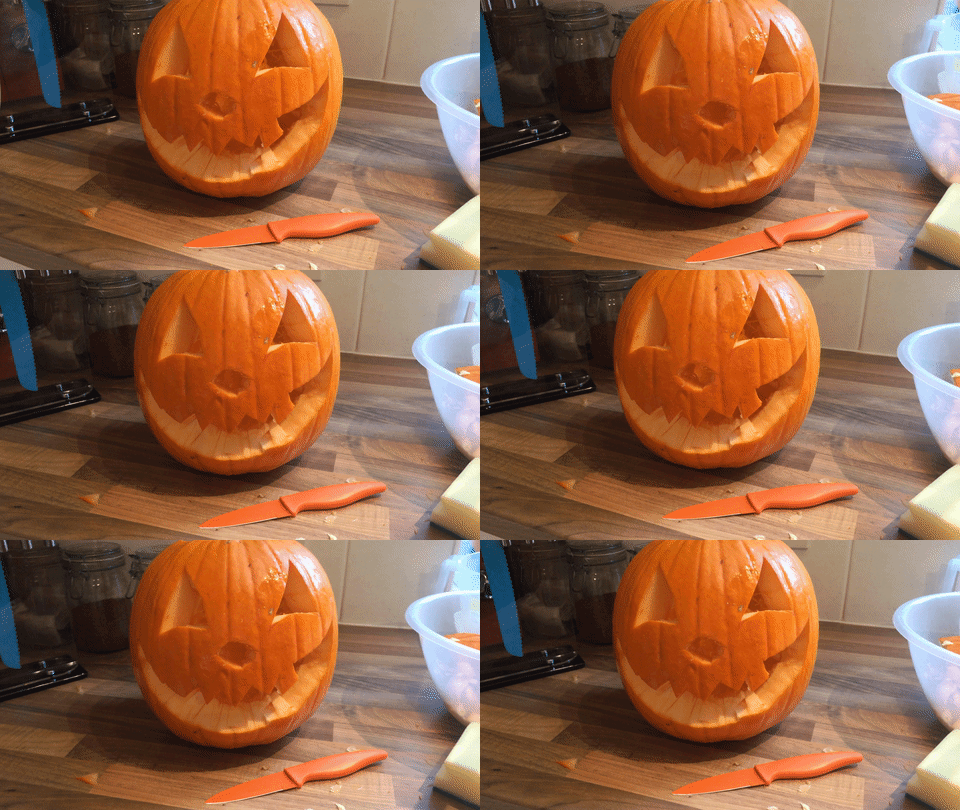
Clean off any pen marks that are still left on the pumpkin.
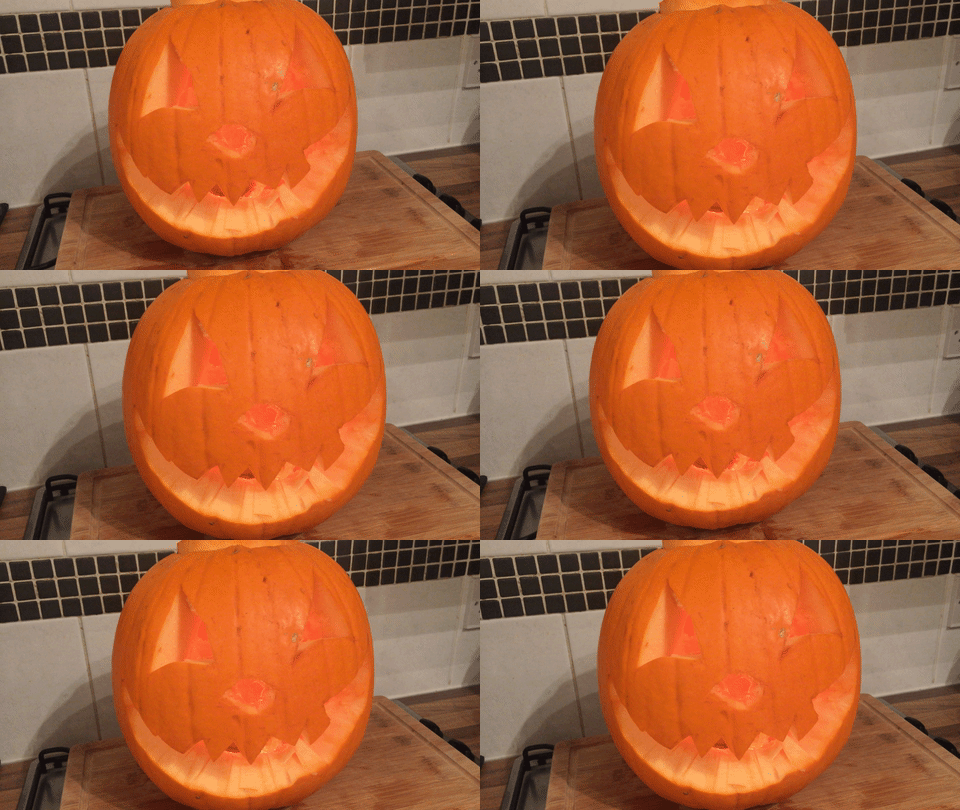
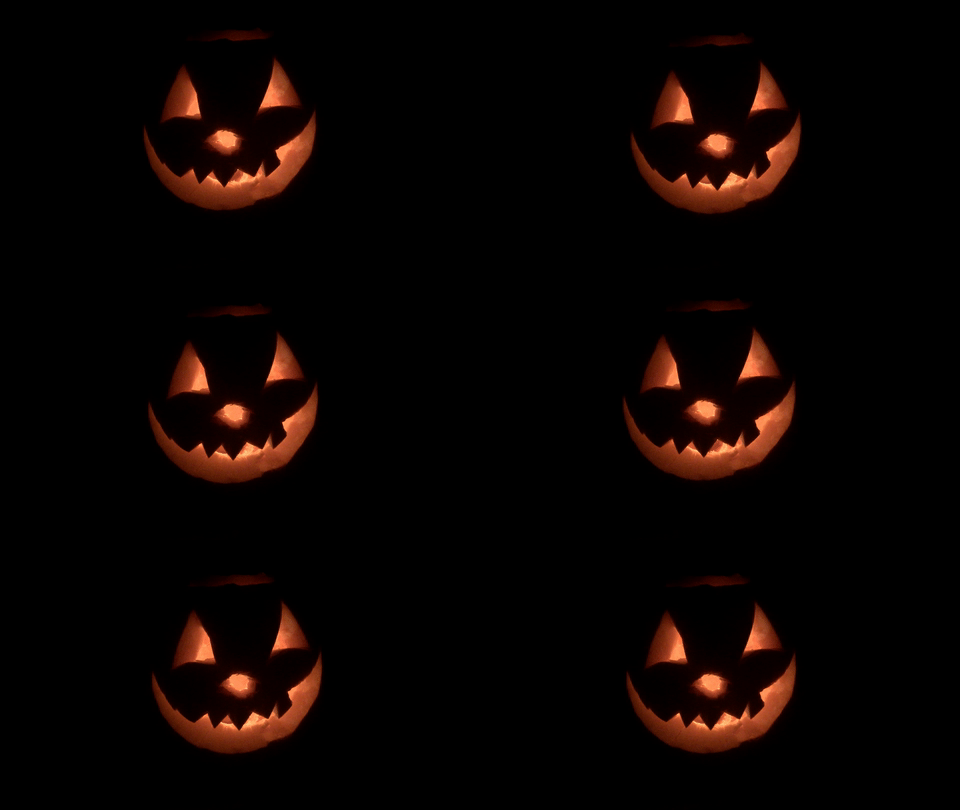
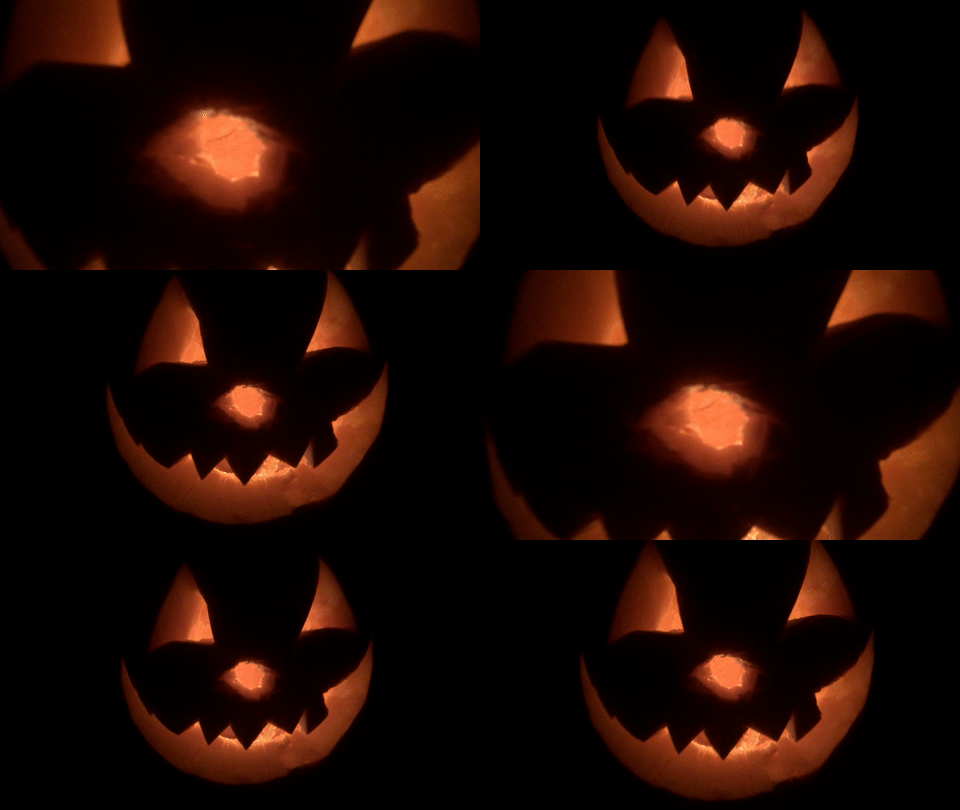
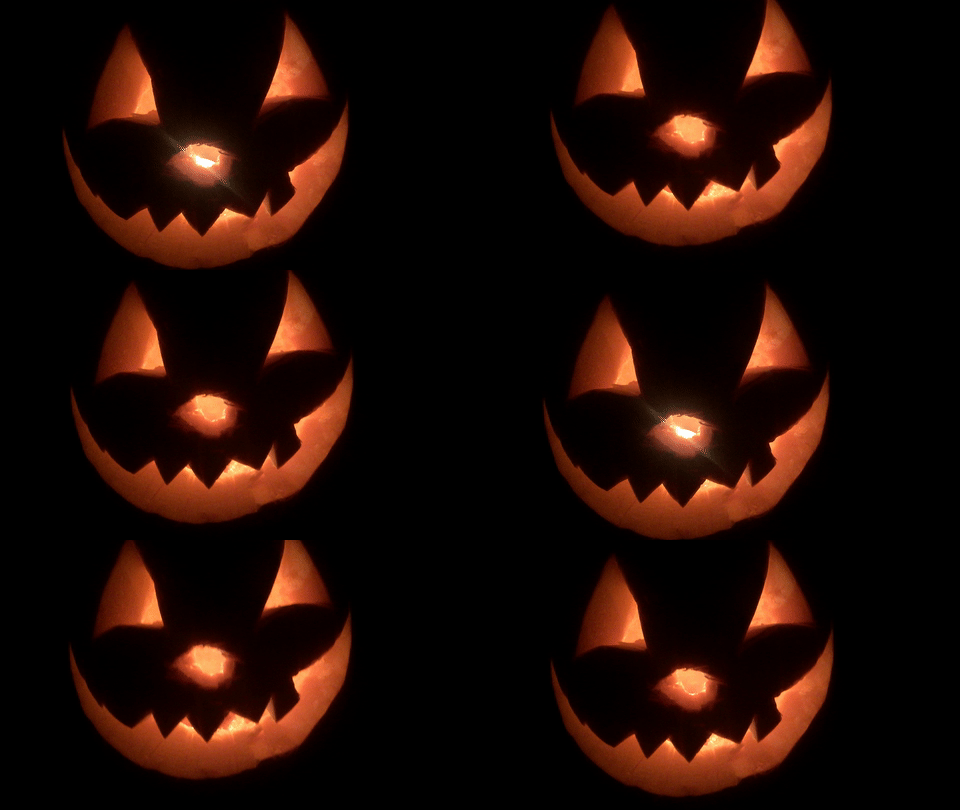
For the ultimate effect, wait until its dark and then add in a tea light to the centre of the pumpkin.
STEP 8
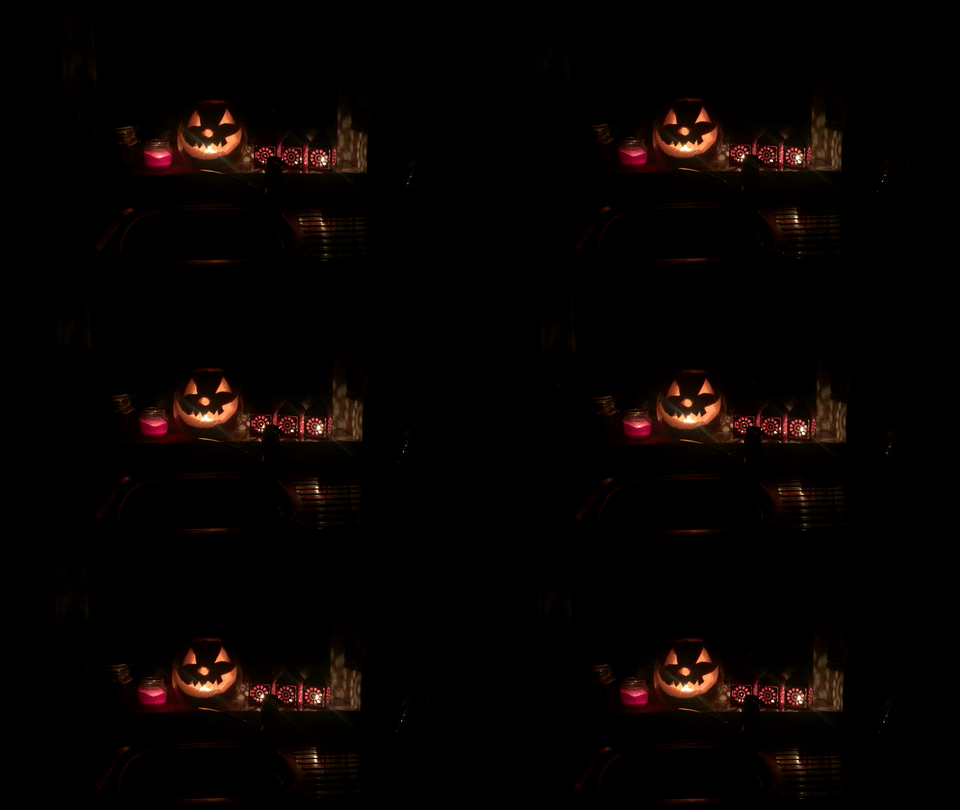
Then move it into a prime location in your home and voila.
If you're far more advanced than us - why not try Tom Fletcher's Christmasaurus pumpkin design instead! He did an amazing job of carving Shane Devries illustration onto a pumpkin.
Have a peek of the video below.
Have a peek of the video below.
Happy Halloween!
Krissie
x





No comments :
Post a Comment